
The Classic Mini Rust Assessment Guide:
How to Spot the Rot Before It Spots You
Let's face it: owning a classic Mini means entering into a lifelong battle against the elements. Alec Issigonis designed a masterpiece of packaging, but with overlapping metal seams, single-skin panels, and traps for road grit, the Mini shell is notoriously prone to corrosion.
Catching rust early is the difference between a simple weekend patch job and a multi-thousand-pound restoration on a jig.
Grab a bright flashlight, a small screwdriver for gentle prodding, a weak refrigerator magnet (to check for hidden body filler), and let’s walk through the ultimate zone-by-zone Mini rust inspection.
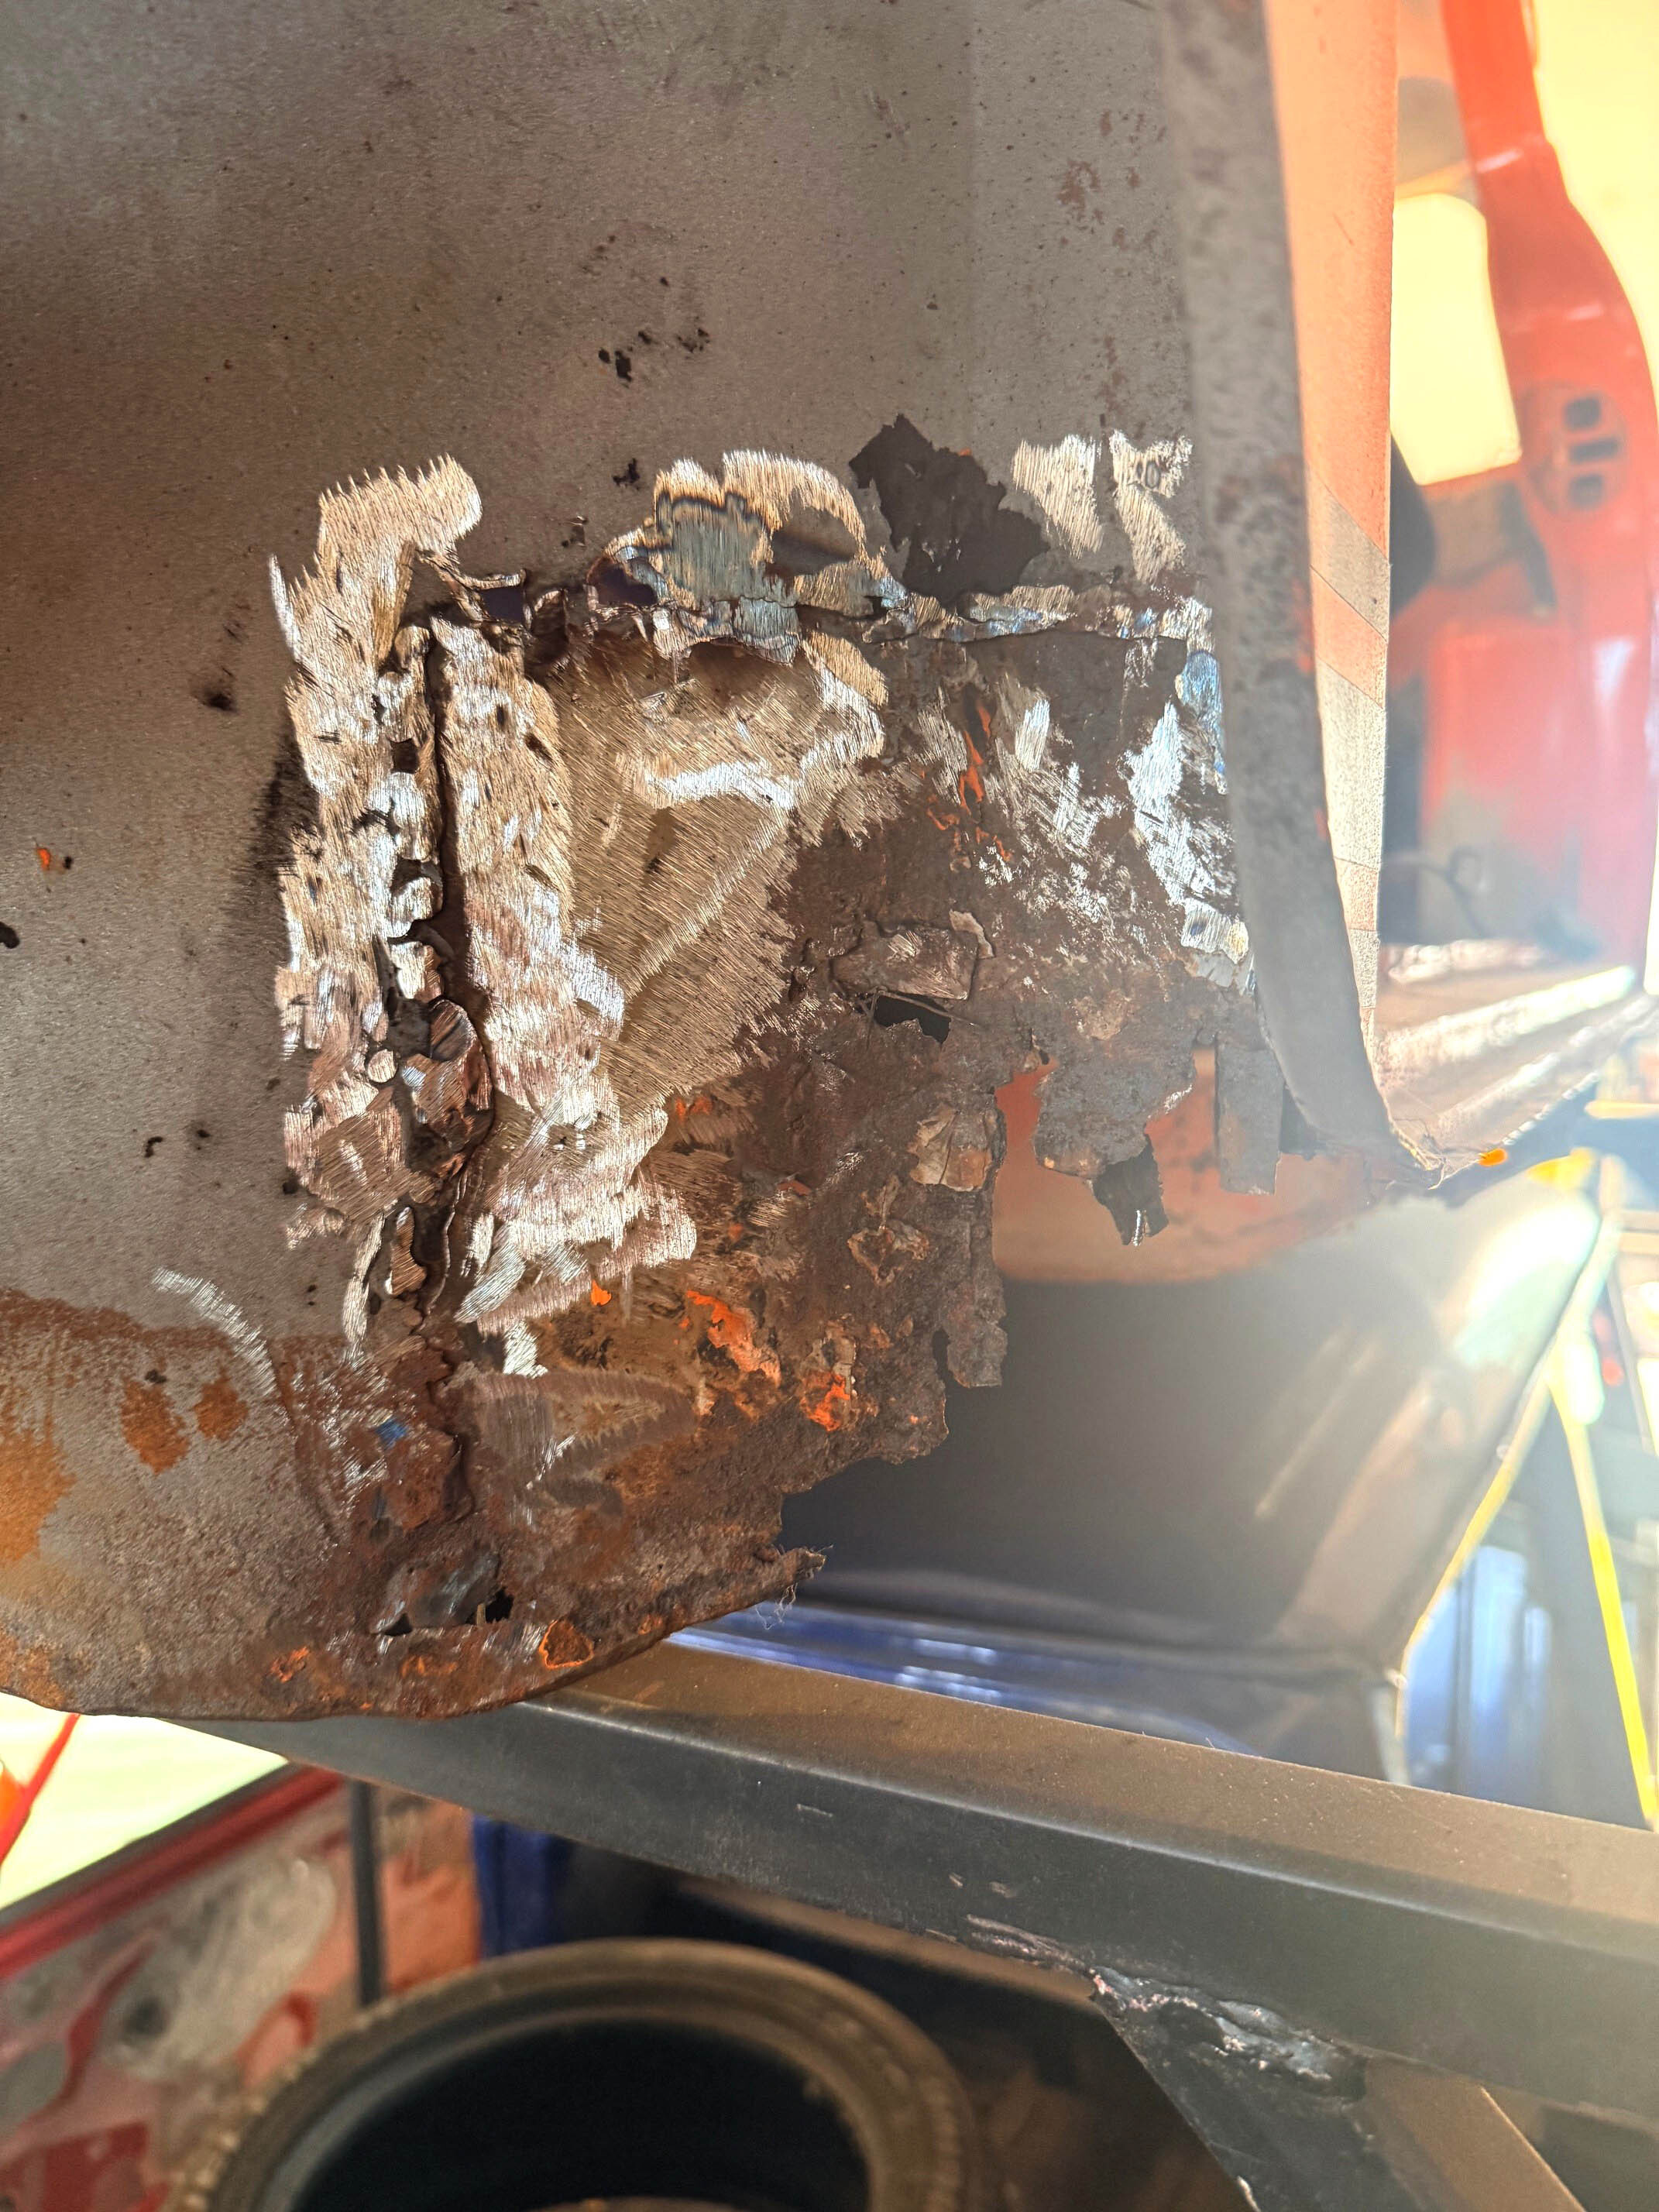
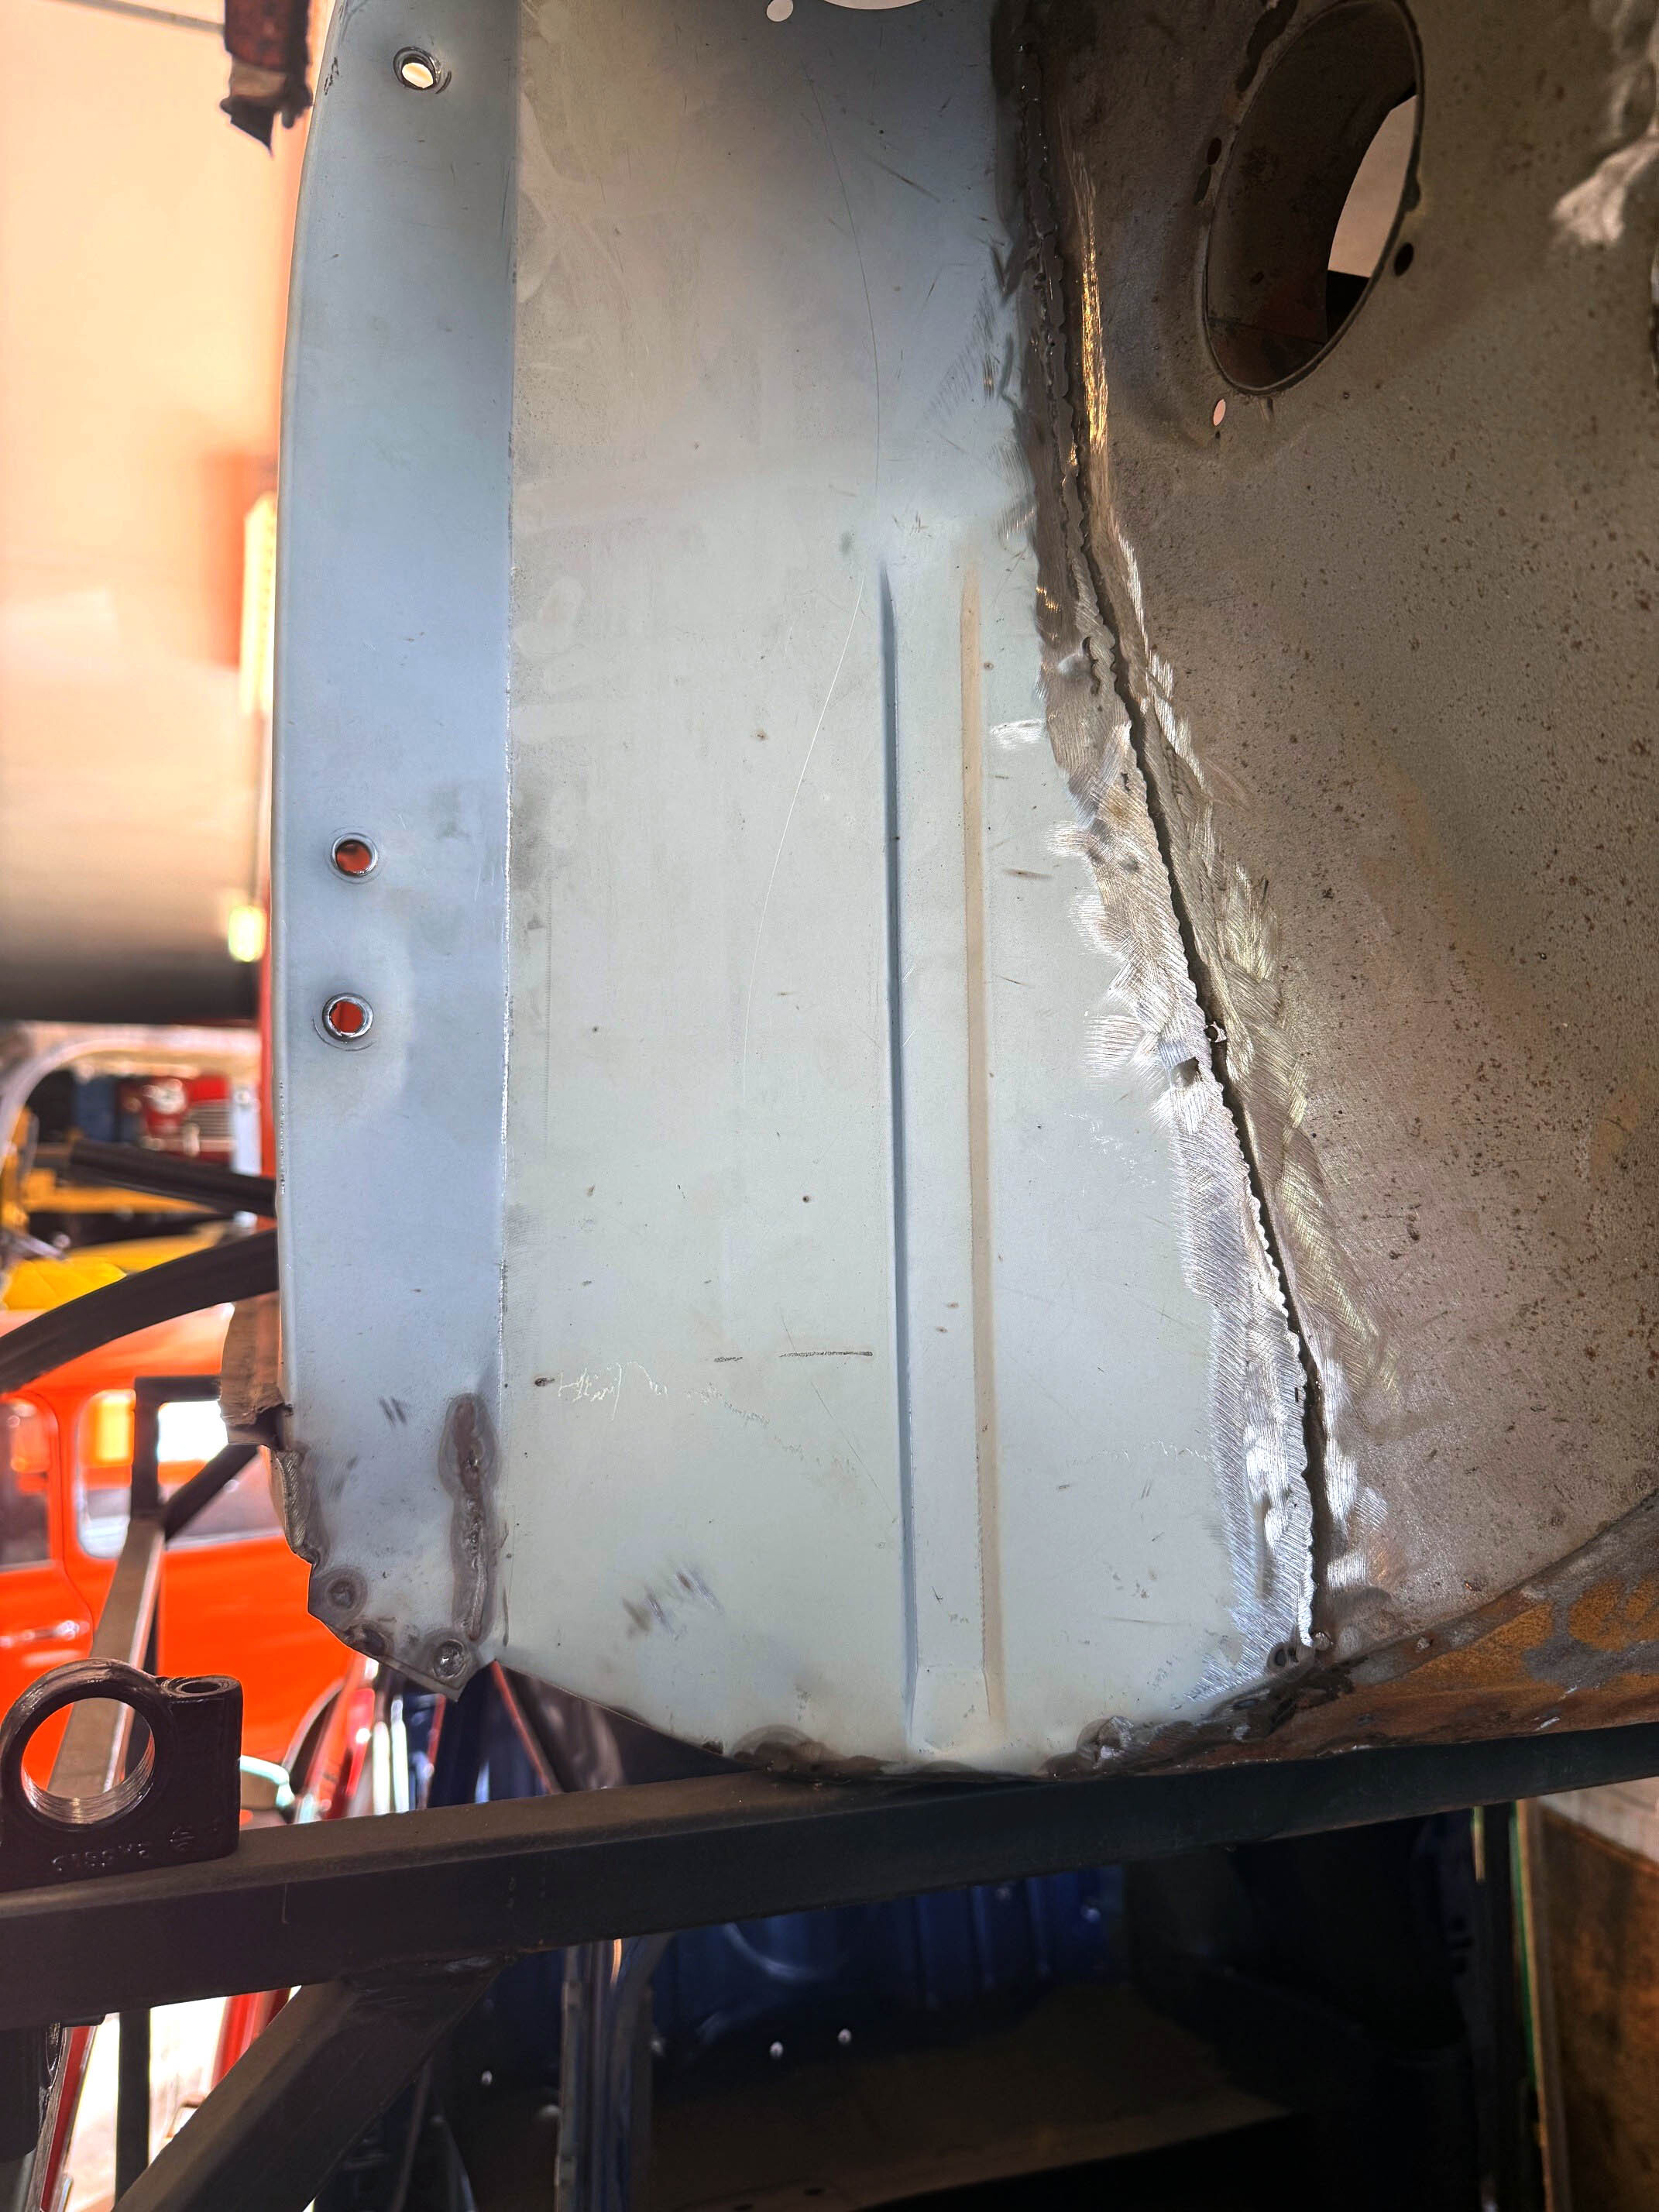
Zone 1: The Front Scuttle & A-Panels
Danger Level: High ?
Why it happens: Water runs down the windshield, pools directly under the rubber seal, and sits inside the unsealed seam where the scuttle meets the wing and the vertical A-panel. Road grit thrown up by the front wheels also gets trapped behind the A-panel, rotting it from the inside out.
What to look for:
- Bubbling paint right along the lower corners of the windshield rubber.
- Discoloration or crusty orange lines tracking down the vertical seam between the wing and the door pillar.
- Use your magnet here—if it slides off the lower A-panel, someone has likely filled a hole with body filler in the past.
The Panel Solution: If it is just starting, an A-panel repair section or a fresh outer A-panel will do the trick. If the rust has crept up to the glass, you will need a complete front scuttle panel.
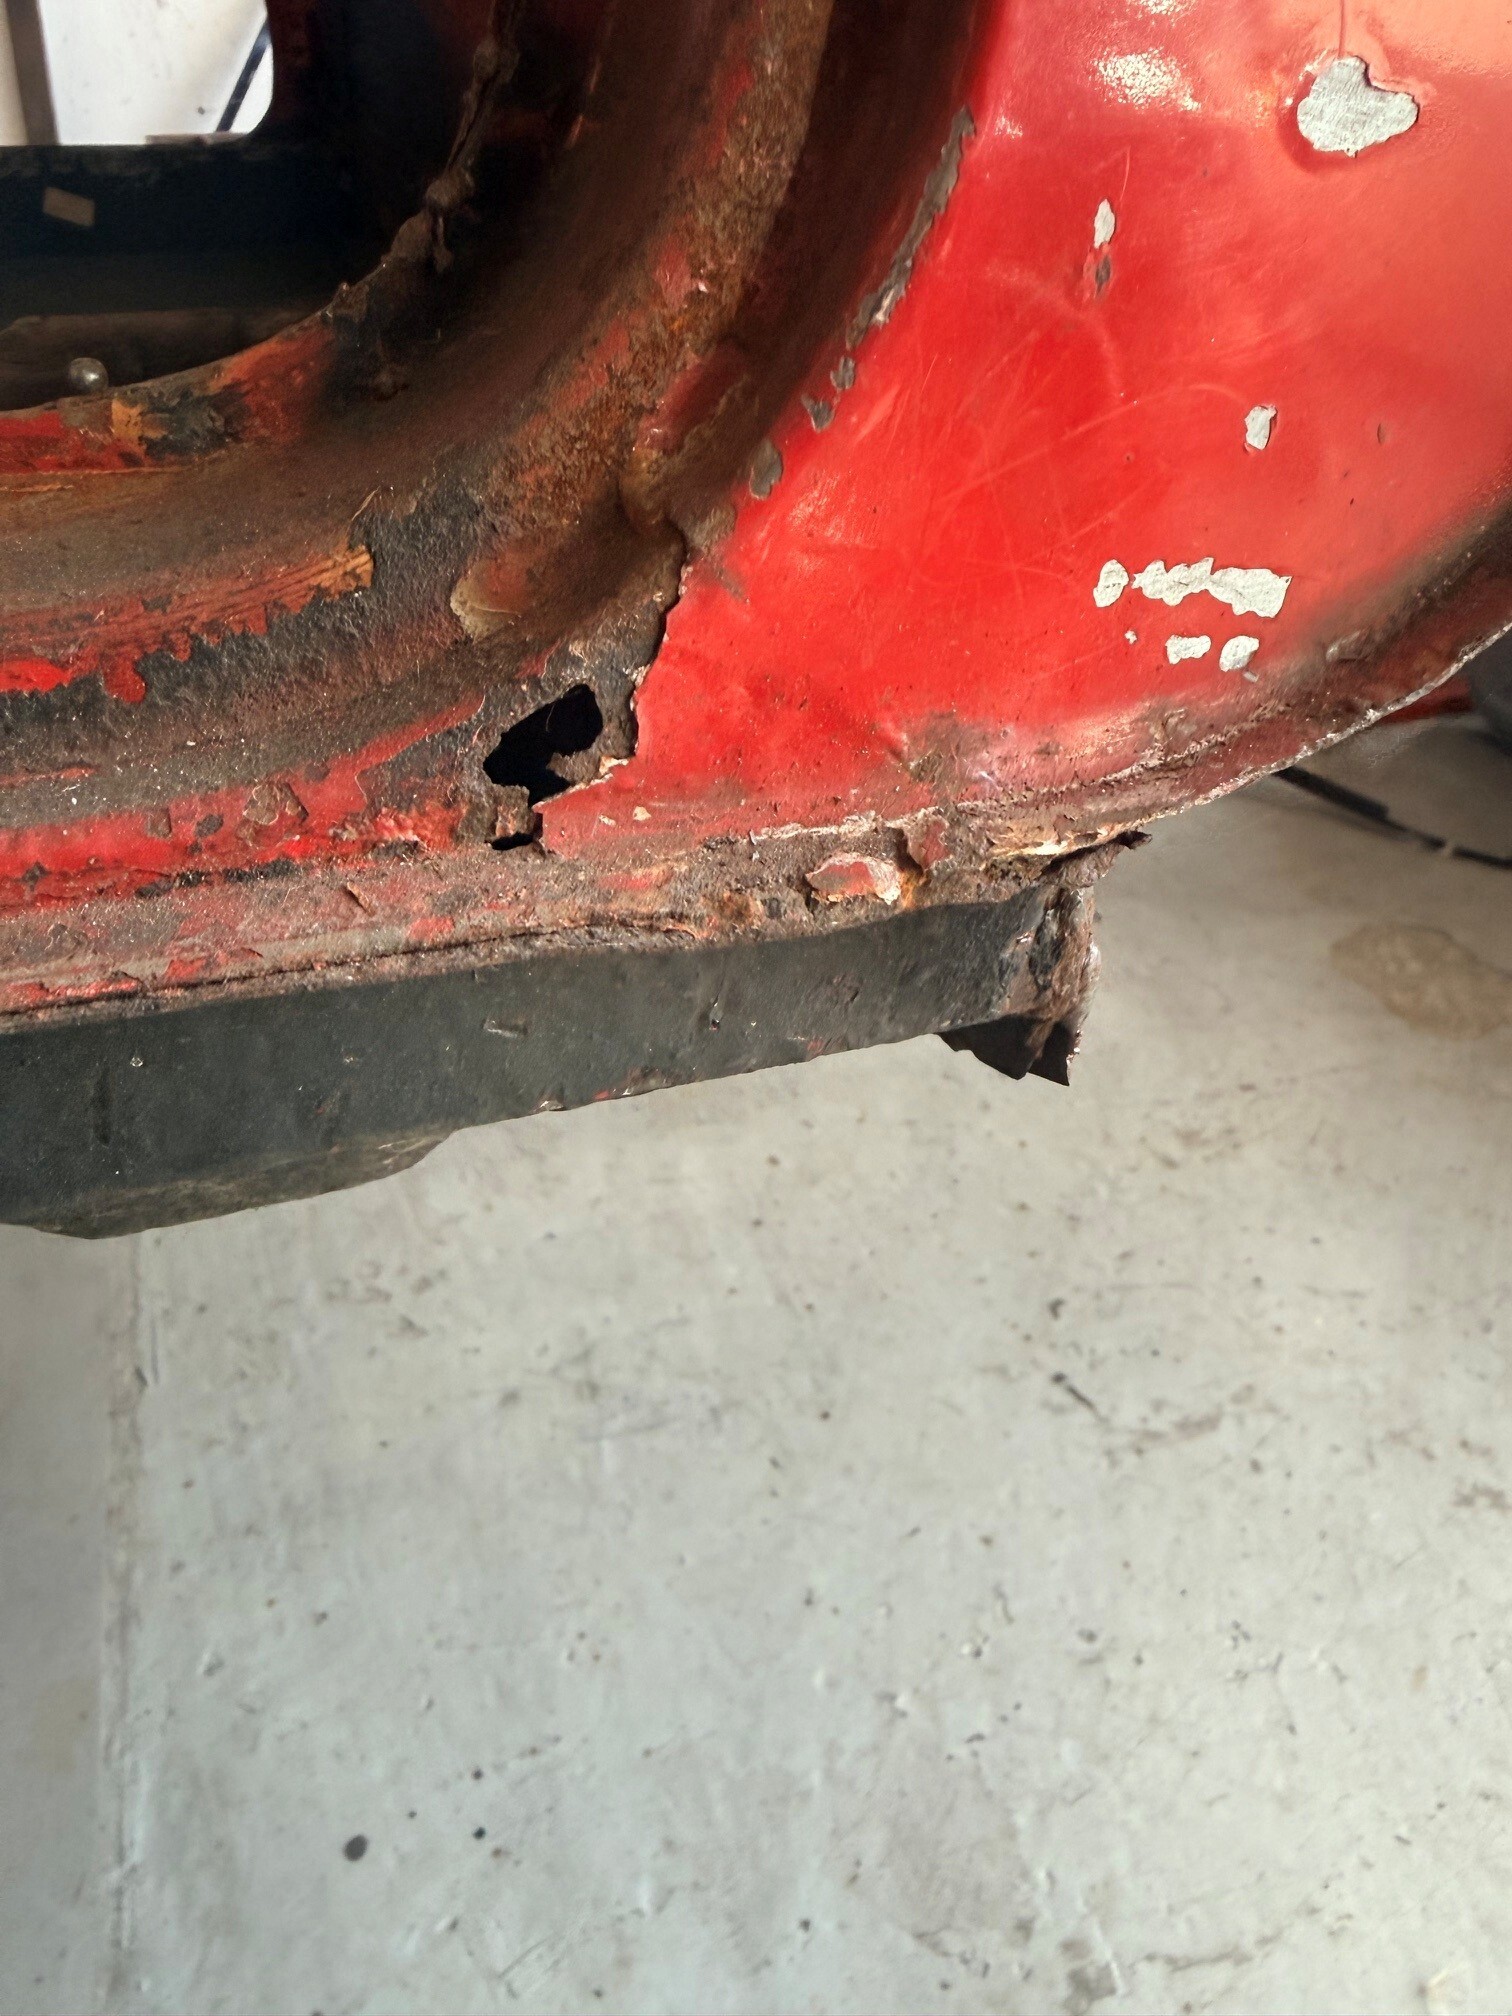
Zone 2: Inner & Outer Sills
Danger Level: Critical ?
Danger Level: Critical ?
Why it happens: This is the most structural part of your Mini's floor plan. Water enters through leaking window seals or floor plugs and pools in the sills. Worse, many Minis have been fitted with cheap "oversills" in the past, which weld right over the top of existing rust, sealing the moisture inside a metal sandwich to rot away the hidden inner sill.
What to look for:
- Look underneath along the long seam. Is it crisp and straight, or is it flaking like pastry?
- Check for crush damage near the jacking points—cracked underseal lets moisture right into the metal.
- Pull up your interior carpets. If the inner floor where it meets the door opening feels soft when pressed with a screwdriver, the sills are compromised.
The Panel Solution: Never put an oversill on a Mini. Do it right with an OEM-spec outer sill, and check if you need a companion inner sill assembly to restore structural integrity.
Zone 3: The Floor Pans & Heel Board
Danger Level: Medium ?
Danger Level: Medium ?
Why it happens: Water travels downward. Leaky door seals, worn heater matrixes, or missing rubber floor bung plugs allow water to soak into the interior sound-deadening foam. It acts like a wet sponge sitting directly against bare steel under your carpets.
What to look for:
- Lift the front carpets and the rear companion bins completely.
- Look closely at the footwells, especially around the pedals and the crossmember where the front seats bolt down.
- Check the heel board—the vertical section of floor under the front of the rear seat where the front mounts of the rear subframe bolt in.
The Panel Solution: We stock everything from small, localized front floor repair panels to complete full-length floor pans if your underside has completely surrendered to the damp.
Zone 4: Door Bottoms & Outer Skins
Danger Level: Medium ?
Danger Level: Medium ?
Why it happens: Water runs down the door glass, slips past the window waist seals, and collects at the very bottom of the door shell. If the tiny factory drain holes at the bottom of the door get clogged with dirt and waxoyl, the water has nowhere to go.
What to look for:
- Open the door and look at the bottom edge. Run your hand along the underside—does it feel rough, bubbly, or holed?
- Look at the bottom 2 inches of the outer door skin. If the paint is blistering, the rust has already chewed through from the inside.
The Panel Solution: You don't always need a whole new door. A lower outer door skin repair section or a bottom inner door repair channel can save an original door shell for a fraction of the cost.
Zone 5: The Boot Floor & Rear Subframe Mounts
Danger Level: High ?
Danger Level: High ?
Why it happens: Worn boot lid seals let rainwater pool in the lowest points of the rear steelwork: the battery box, the spare wheel well, and the rear valance. Furthermore, road spray constantly assaults the areas where the rear subframe mounts to the chassis body.
What to look for:
- Empty the boot entirely. Lift out the spare wheel and battery.
- Inspect the bottom of the battery box—acid leaks combined with water make this the first area to rot away.
- Look at the rear valance seam right below the bumper bar.
- From underneath the car, inspect the brackets where the rear subframe bolts to the heel board and the rear shackles. If these areas are soft, the car is unsafe to drive.
The Panel Solution: We offer dedicated battery box replacement tubs, rear valance panels, and complete boot floor assemblies to keep your rear subframe safely anchored.
The Verdict: What's Next?
Take a clean cloth, wipe down the areas you inspected, and categorize your findings:
- Surface rust? Wire brush it back to bare metal, apply a heavy-duty zinc primer, and seal it.
- Soft metal or open holes? It’s time to cut it back to clean, bright steel and weld in fresh metal.
Don't let a small patch turn into a major structural failure. If your Mini inspection revealed a few spots that need fresh steel, we want to help you get it sorted before the weather gets any worse.